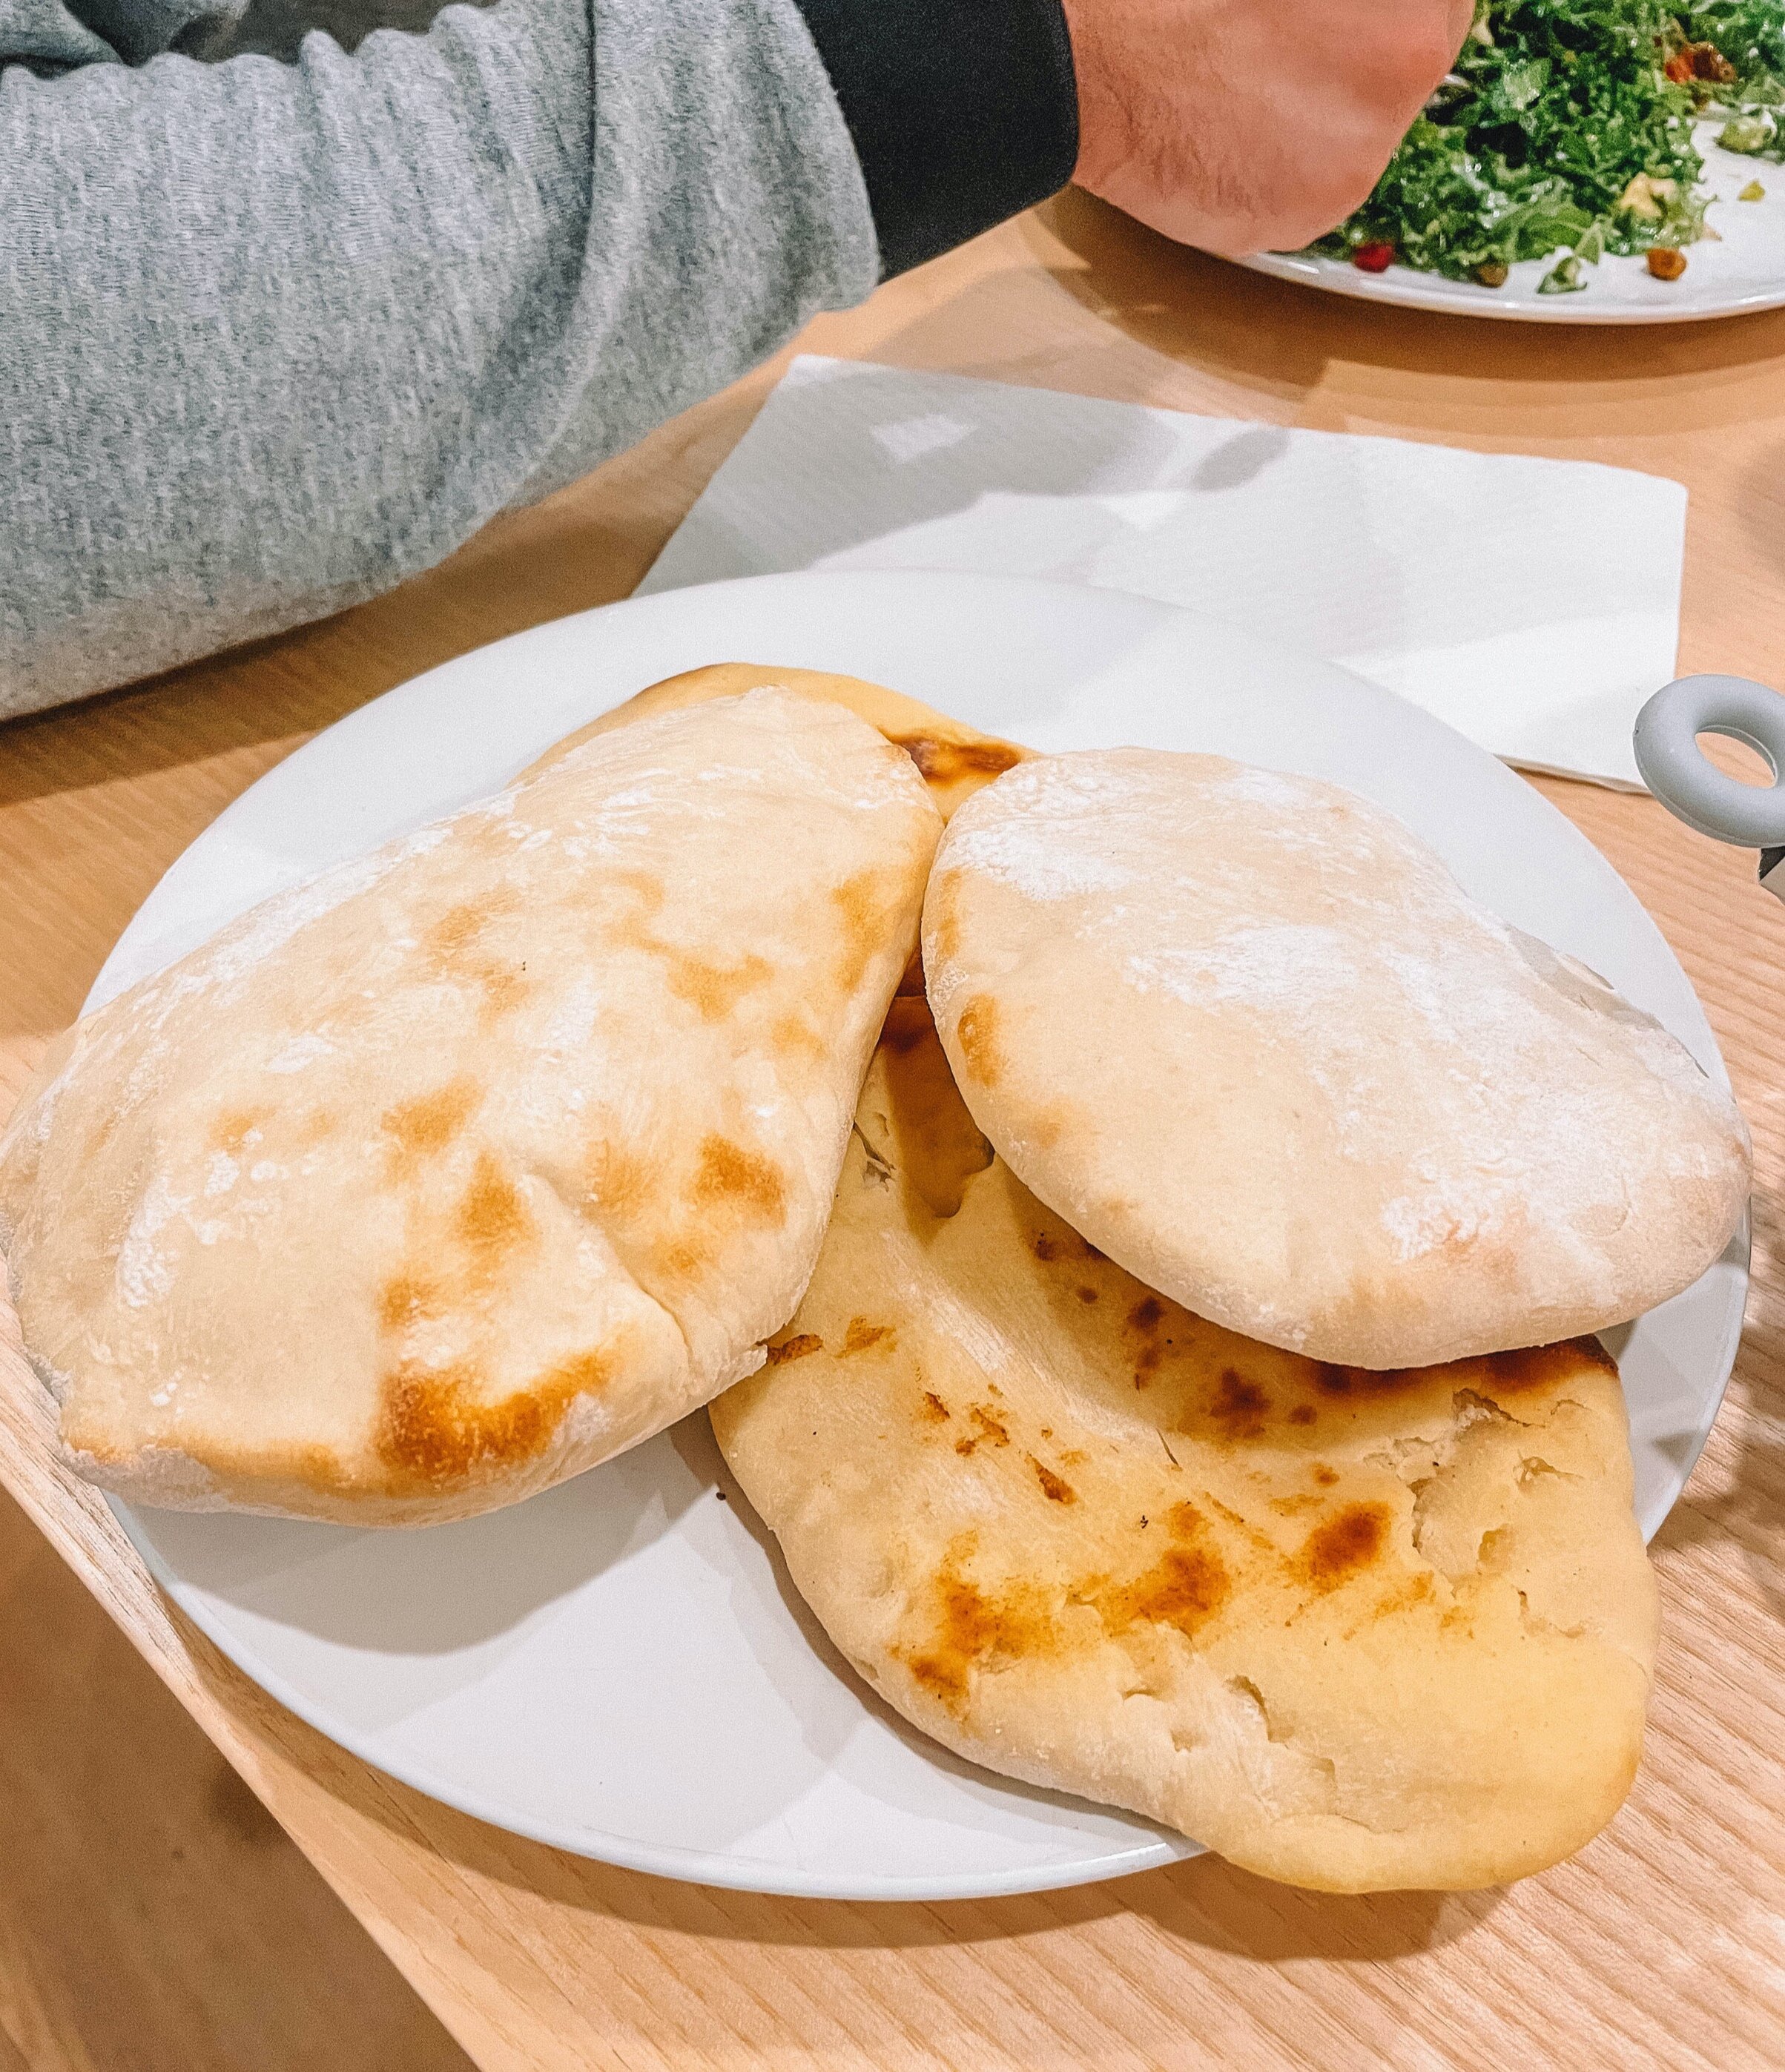
Homemade Pita Bread
Molly makes pita bread?! It’s safe to say I never was a Suzy homemaker. If I wanted something - baked or cooked, I ordered takeout or picked it up nearby! But recently, in the past year or so I’ve been extremely motivated to bake once a week (& cook even more often)! If you follow me on stories, you see I bake Challah almost every Friday morning. Even though Daniel and I don’t always eat it (gluten issues lol), it’s a tradition I want to have to one day share with my children, Gd willing. So why pita?
One Sunday this summer I was down the shore with Daniel & his two brothers. One of them said, “Molly if you can make pita, I’ll be really impressed! That’s technically the true bread meant to be eaten on Shabbat for Sephardim.” I took this almost as a challenge & had been thinking about it for months. With a new recipe — that seems hard — I kept putting it off. But then Daniel’s birthday Shabbat was coming up & I knew he’d appreciate pita so that was that: I had to try!
To my surprise, it came out amaaaazzzzing. It’s such an easy recipe! The actual baking part takes 5 minutes so it’s perfect to make when you’re in a pinch (although it does need an hour or so to rise). I have to give credit to Mike Solomonov — his pita recipe is what I used to start & now that I’ve gotten the hang of this, I tweaked it a bit to make it my own. Enjoy!
Here is what you need:
2.5 teaspoons active dry yeast
2 teaspoons sugar
4 cups all-purpose flour
2 teaspoons salt (I used pink Himalayan because it’s what I had on hand)
2 tablespoons olive oil
1.5 cup of warm water
Here is what to do:
Mix 1/2 cup warm water with yeast + sugar (you can use a small bowl for this). Don’t continue to mix, let it go until you see it getting foamy (should be about 10 minutes).
Mix the flour + salt in a stand mixer using the dough hook on low until fully blended.
Pour the yeast blend + 1/2 cup warm water + oil into the flour mixture.
Mix again on low for 1 to 2 minutes. (The dough should be in a big ball + easily not stick to the sides. If it is sticking add a tablespoon of warm water.)
This is where you have to pay attention!!
As soon as the dough is visibly coming off the sides of the stand mixer bowl you want to mix in another 1/2 cup warm water, still on low.
*Dough should be “doughy” lol! Not sticky. If it’s sticky, add a teaspoon of flour at a time until it’s not.
Keep the dough in the stand mixer bowl & cover with a towel or plastic wrap for 1 hour. You should have the bowl in the kitchen preferably in the warmest spot. (Cold air ruins the dough rising process.)
Take all racks out of the oven aside for one that’s in the middle-upper.
Preheat your oven to 475.
Place a rectangle-shaped pyrex (or an oven-safe glassware) on the rack inverted so this becomes nice and warm. (Mike recommends using a baking sheet, but when I did this my fire alarm went off SIX times.)
After the hour, roll the dough into 12 balls. Cover with a towel & let rise for 15-20 more minutes.
Using a rolling pin, roll each dough ball 1/2 inch thick on a floured work space.
Rather than taking out the Pyrex (or baking sheet) each time, lean in and nicely “plop” the rolled out dough onto the dish. You should be able to fit 3 each time.
Bake for 5 minutes, but keep an eye! If it looks burnt, it’s overcooked. (Although some people really like that so this all comes down to personal preference!)
Serve with alllll the dips your heart desires or eat it plain - it’s that good!
P.S. I forgot to take pics along the way, but I promise next time I make pita I’ll document each step & will update this blog post with more photos!


